Operation guide for ormeohone juicer 1901

Using the Ormeohone Juicer 1901 feels like second nature. It’s designed to be simple and safe, so anyone can enjoy fresh juice without any hassle. I’ve found that following the 'Operation guide for juicer' makes all the difference. It ensures you get the best results every time and helps keep the juicer in top shape. Whether you're a juicing pro or just starting, this guide will make your experience smooth and enjoyable.
Key Takeaways
-
Always check the juicer parts before using it. Look for cracks or missing pieces to keep it safe.
-
Wash all removable parts with gentle soap before the first use. This removes dust and keeps it clean for juicing.
-
Learn about the juicer's parts. Knowing how they work makes assembly and use easier.
-
Get fruits and vegetables ready. Wash, peel, and cut them into small pieces for better juicing.
-
Clean the juicer right after using it. This stops residue from building up and keeps it working well.
Pre-Use Preparation
Before diving into juicing, I always take a few minutes to get everything ready. Trust me, this little prep work makes the whole process smoother and ensures the best results.
Inspecting the juicer and its components
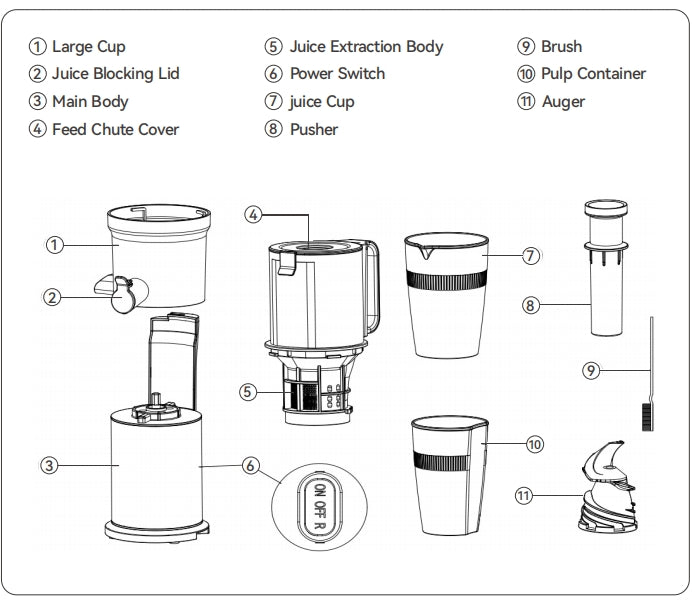
The first thing I do is check all the parts of the juicer. I look for any cracks, loose pieces, or anything that seems out of place. It’s important to make sure everything is in good condition before starting. I also double-check that all the components are included—like the large cup, auger, feed chute cover, juicer cup, and pulp container. Missing something? It’s better to notice now than mid-juice!
Tip: If you spot any damage, don’t use the juicer. Contact customer support for assistance.
Washing removable parts before first use
Next, I wash all the removable parts. This step is crucial, especially if it’s the first time using the juicer. I rinse each piece under warm water and use a mild dish soap to clean them thoroughly. This removes any dust or residue from manufacturing or packaging. After washing, I let everything air dry on a clean towel.
Note: Avoid using abrasive sponges or harsh chemicals. They can damage the parts.
Understanding the juicer’s key components
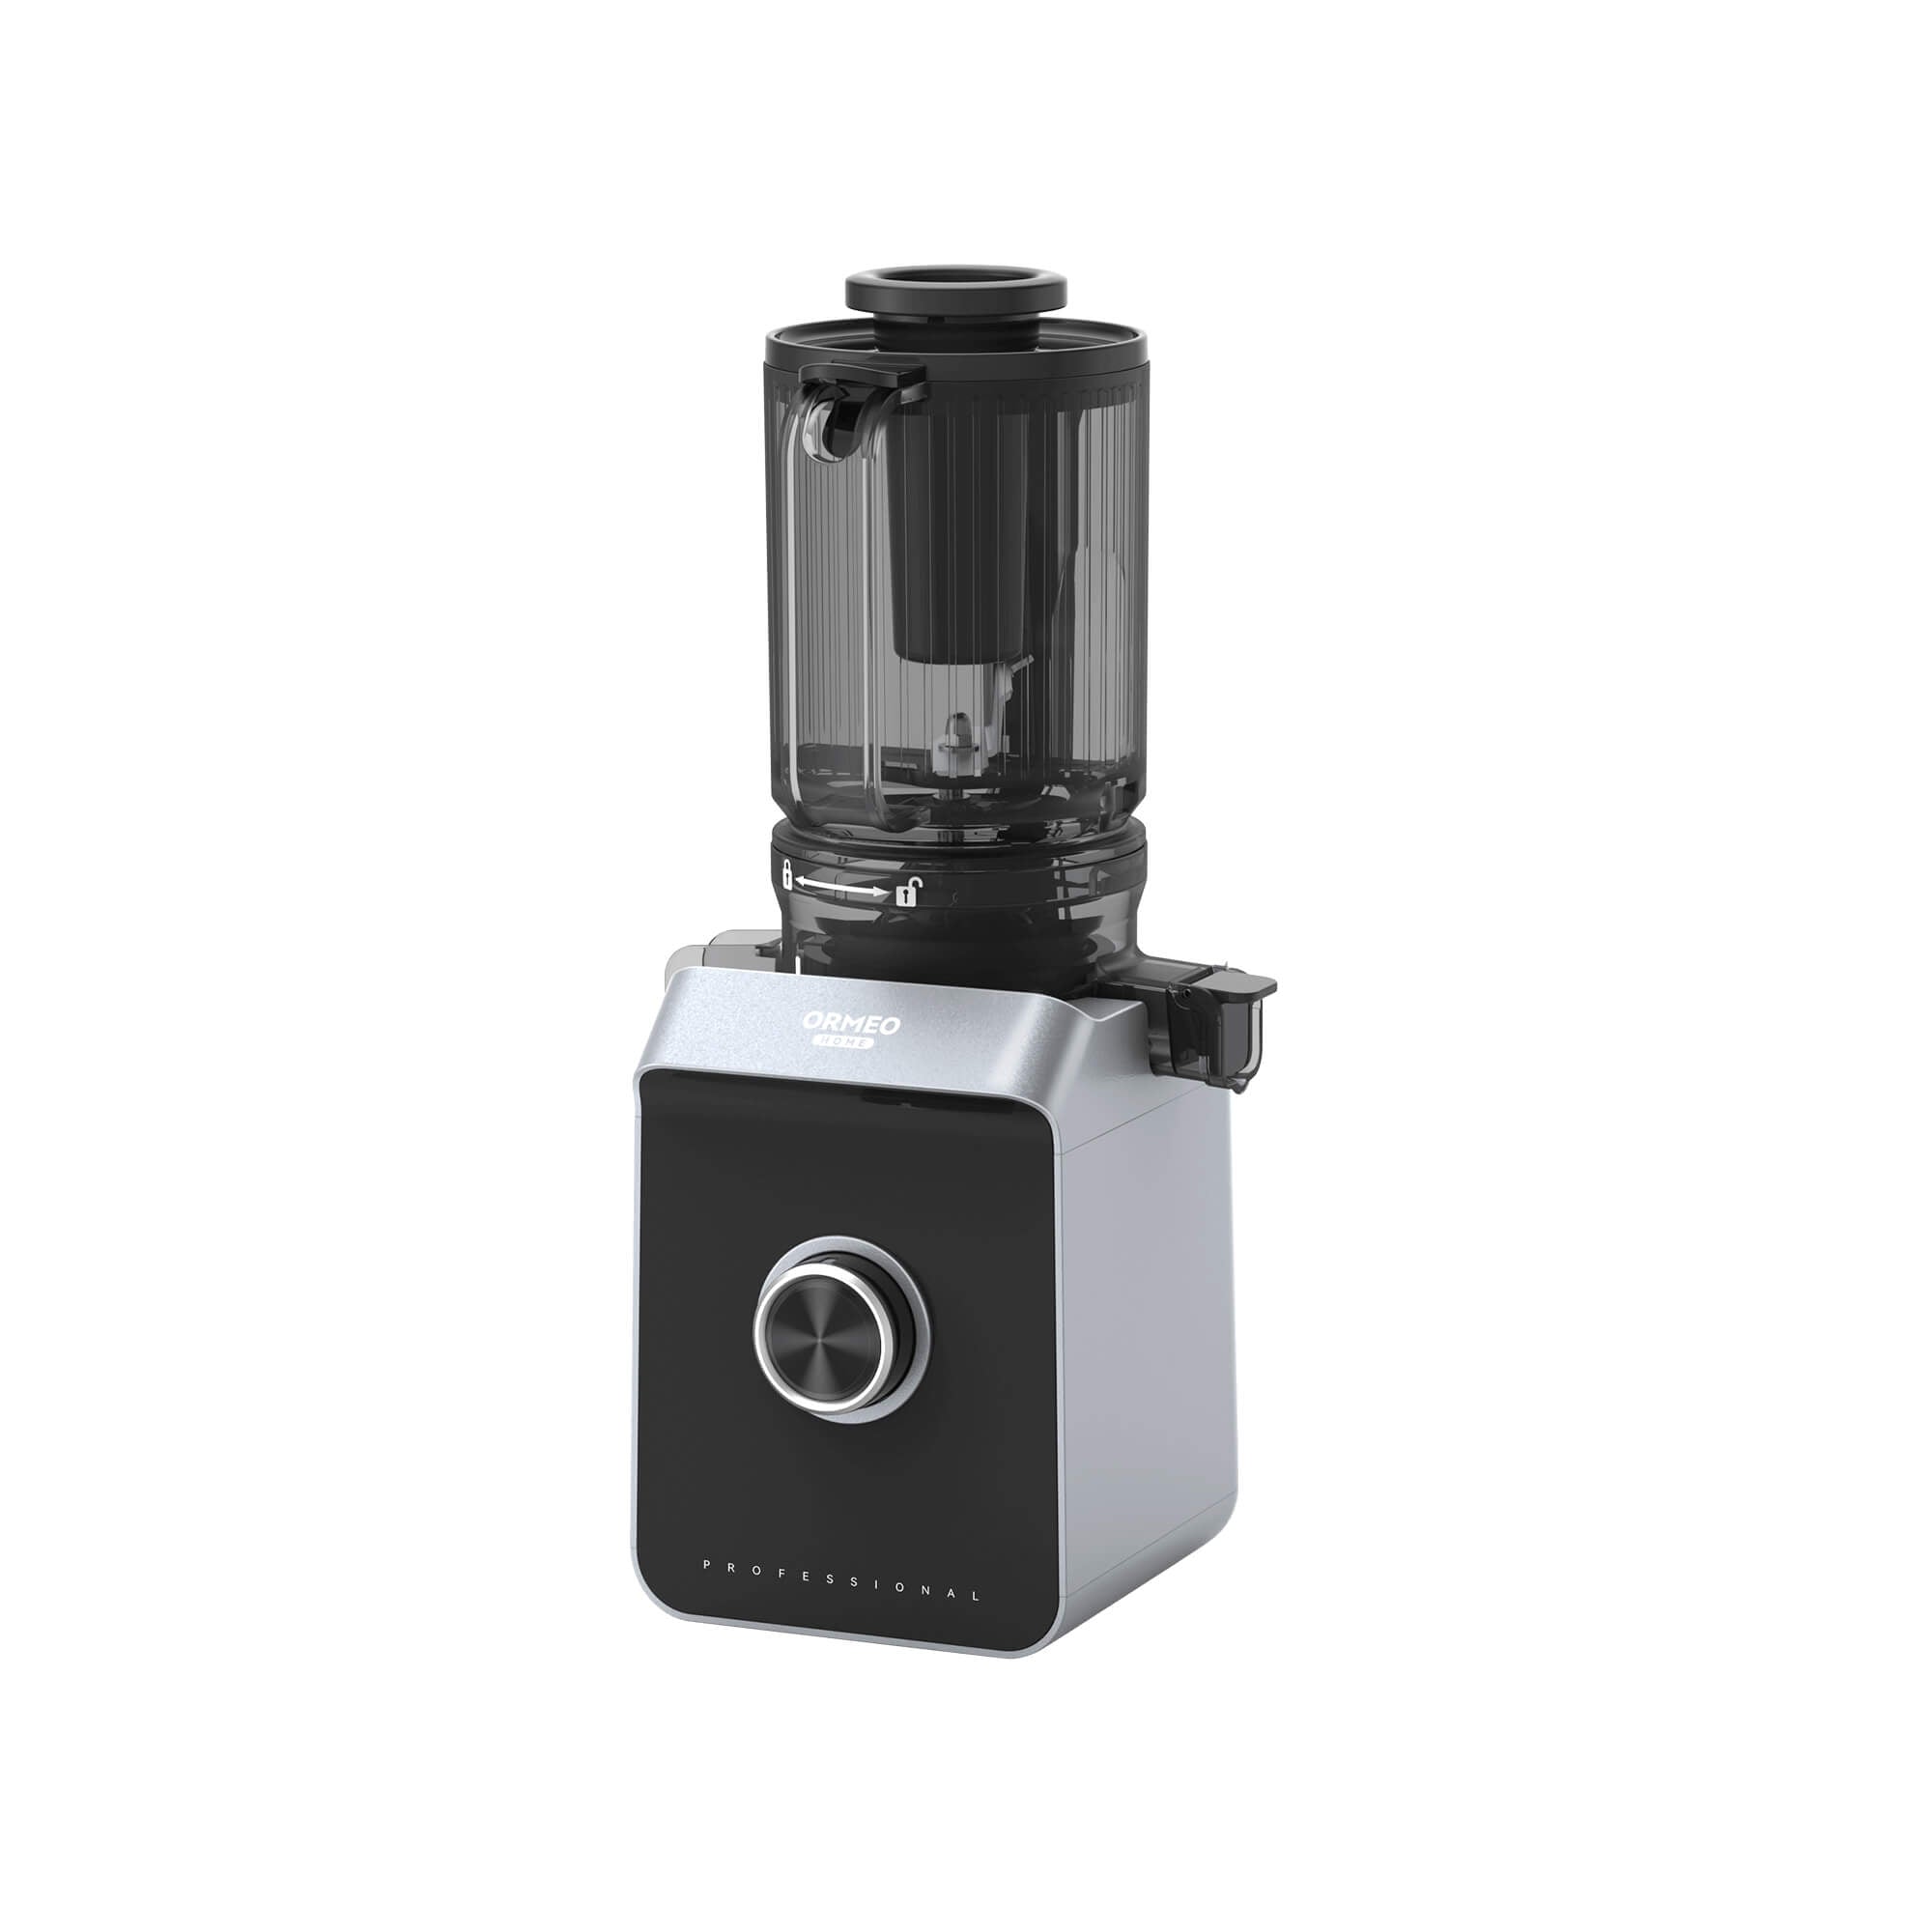
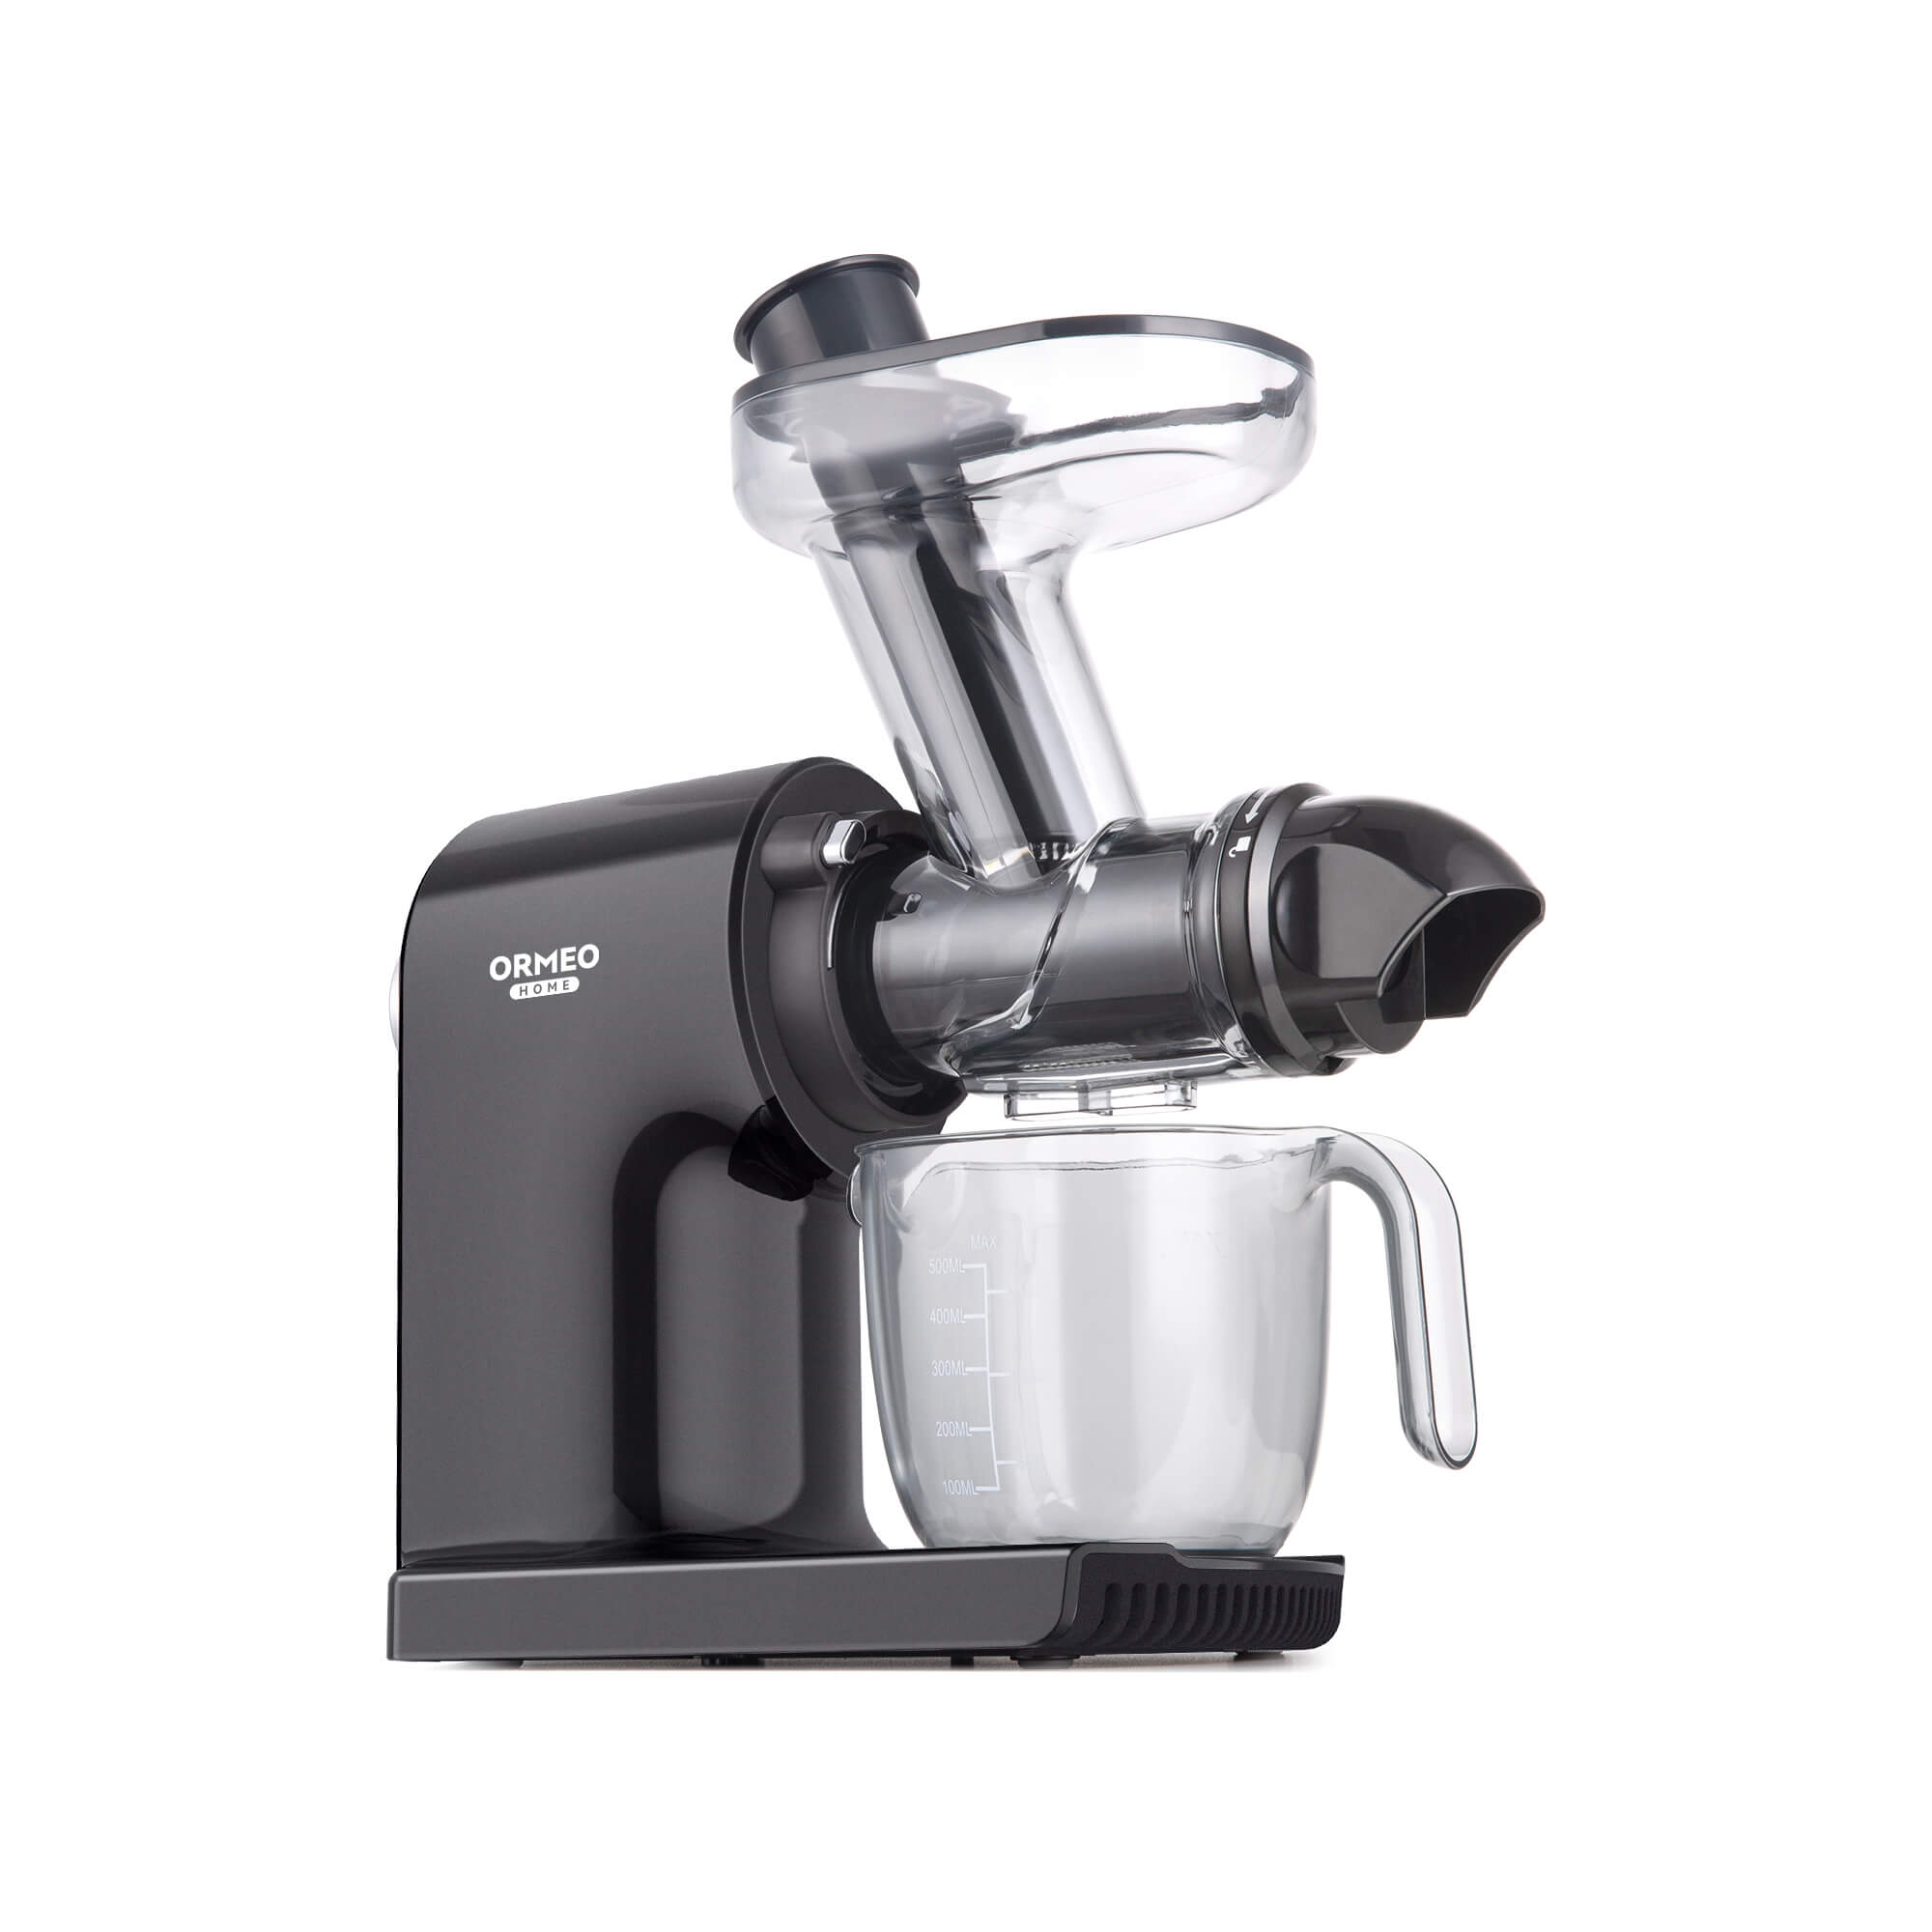
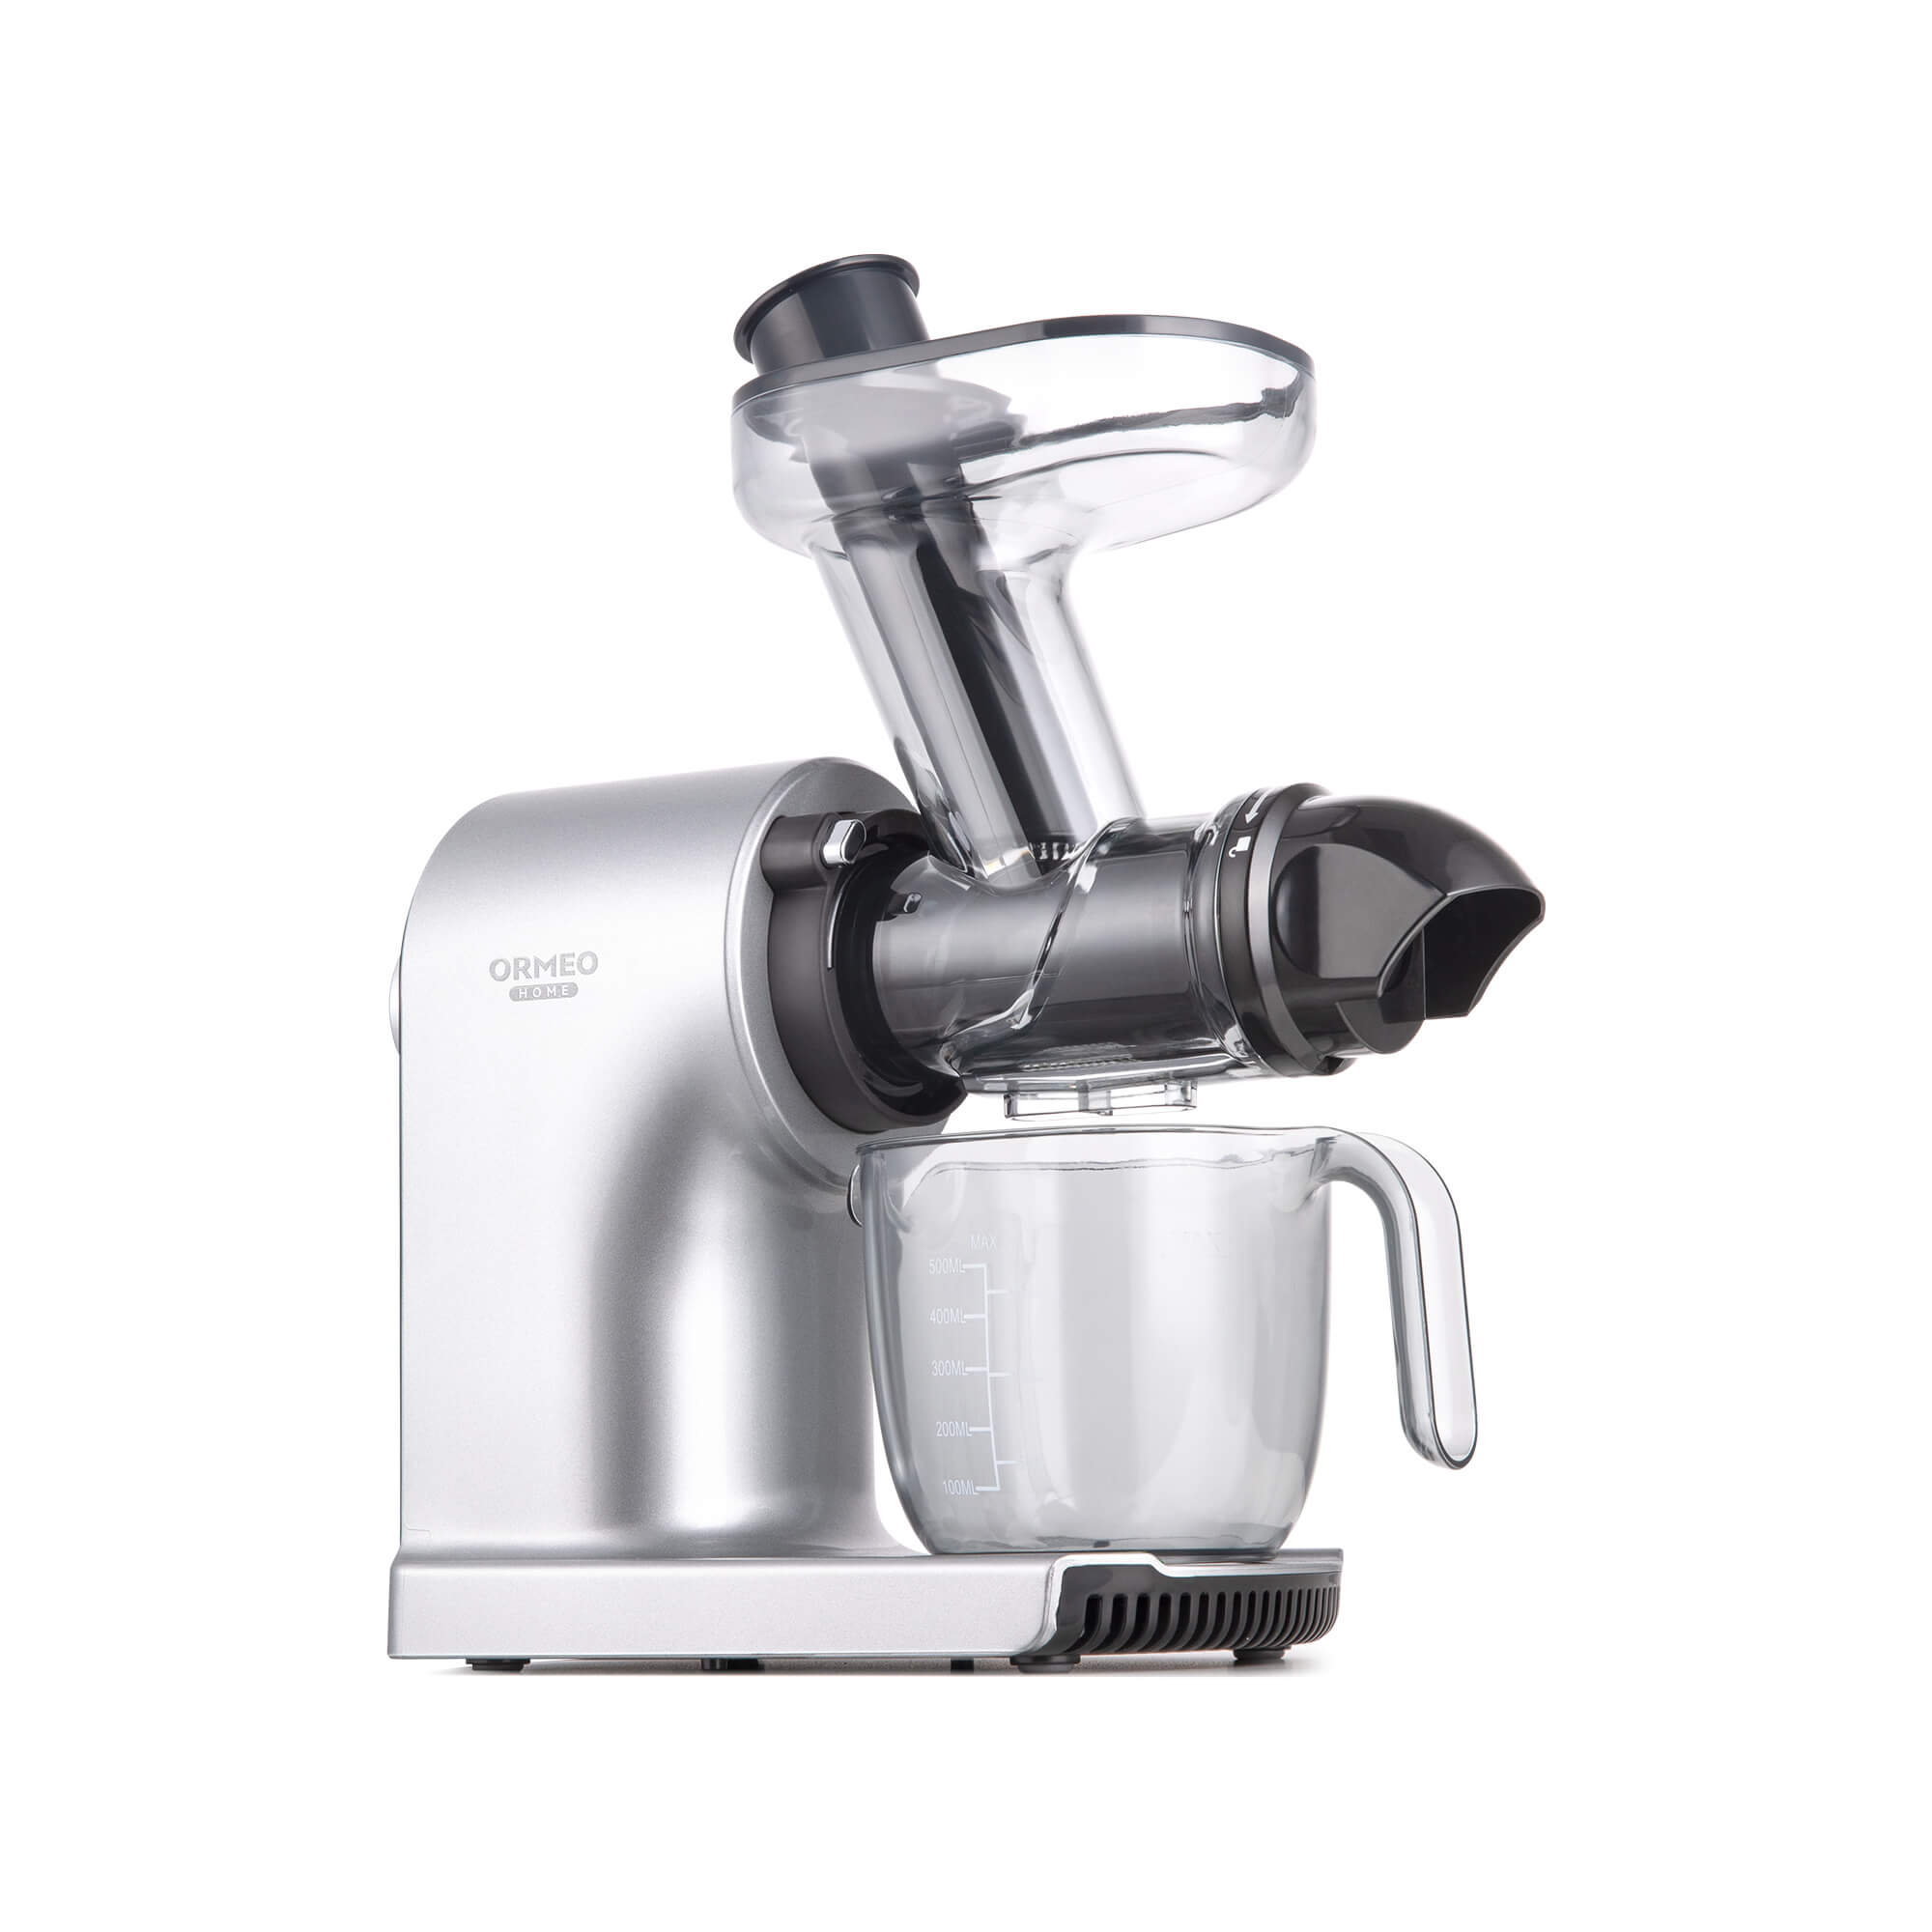
Finally, I take a moment to familiarize myself with the juicer’s main parts. The large cup is where the magic happens—it holds the auger, which crushes the fruits and veggies. The feed chute cover locks everything in place, while the juicer cup collects the juice. The pulp container catches the leftover bits. Knowing how these parts work together helps me feel confident when it’s time to assemble and use the juicer.
By following these steps, I’m all set to start juicing with ease. Preparation really is the key to a hassle-free experience!
Assembly Instructions
Getting the Ormeohone Juicer 1901 ready to use is easier than you might think. I’ve broken it down into simple steps so you can assemble it like a pro.
Step-by-step guide to assembling the juicer
Here’s how I put the juicer together:
-
Start with the large cup: I align the large cup with the small lock icon on the main body. Then, I twist it gently until it locks into place.
-
Add the auger: Next, I press the auger onto the center of the large cup. It fits snugly, so I make sure it’s seated properly.
-
Secure the feed chute cover: I position the feed chute cover over the large cup, aligning it with the small lock icon. A quick twist locks it tightly.
-
Place the containers: Finally, I set the juicer cup under the water outlet and the pulp container under the outlet on the main body.
Tip: If you’re unsure about the alignment, look for the lock icons—they’re your guide!
Locking parts securely in place
Locking the parts securely is key to smooth operation. I always double-check each piece after assembly. If something feels loose, I take a moment to adjust it. For example, the feed chute cover should feel firm when twisted into place. A loose part can cause the juicer to wobble or stop working.
Note: Don’t force anything! If a part doesn’t fit, check the alignment instead of applying pressure.
Avoiding common assembly mistakes
I’ve learned a few tricks to avoid hiccups during assembly:
-
Skipping the lock icons: Early on, I missed aligning the lock icons, and the juicer wouldn’t start. Now, I always check them.
-
Misplacing the auger: The auger needs to sit right in the center of the large cup. If it’s off, the juicer won’t work properly.
-
Forgetting the containers: Once, I forgot to place the pulp container, and cleanup became a mess. Now, I make sure both containers are in their spots before turning the juicer on.
Reminder: Take your time during assembly. Rushing can lead to mistakes that are easily avoidable.
By following these steps, I’m confident you’ll have the juicer assembled and ready to go in no time. It’s all about being methodical and paying attention to the details. Happy juicing!
Operating the Juicer
Once the Ormeohone Juicer 1901 is assembled, it’s time to bring it to life! Operating it is straightforward, but a little preparation goes a long way in ensuring smooth juicing and delicious results. Let me walk you through the process.
Preparing fruits and vegetables for juicing
Before I start juicing, I always prep my fruits and veggies. This step is crucial for getting the best juice quality and keeping the juicer running smoothly. Here’s what I do:
-
Wash thoroughly: I rinse all produce under running water to remove dirt and pesticides. For tougher skins, like apples or cucumbers, I use a soft brush.
-
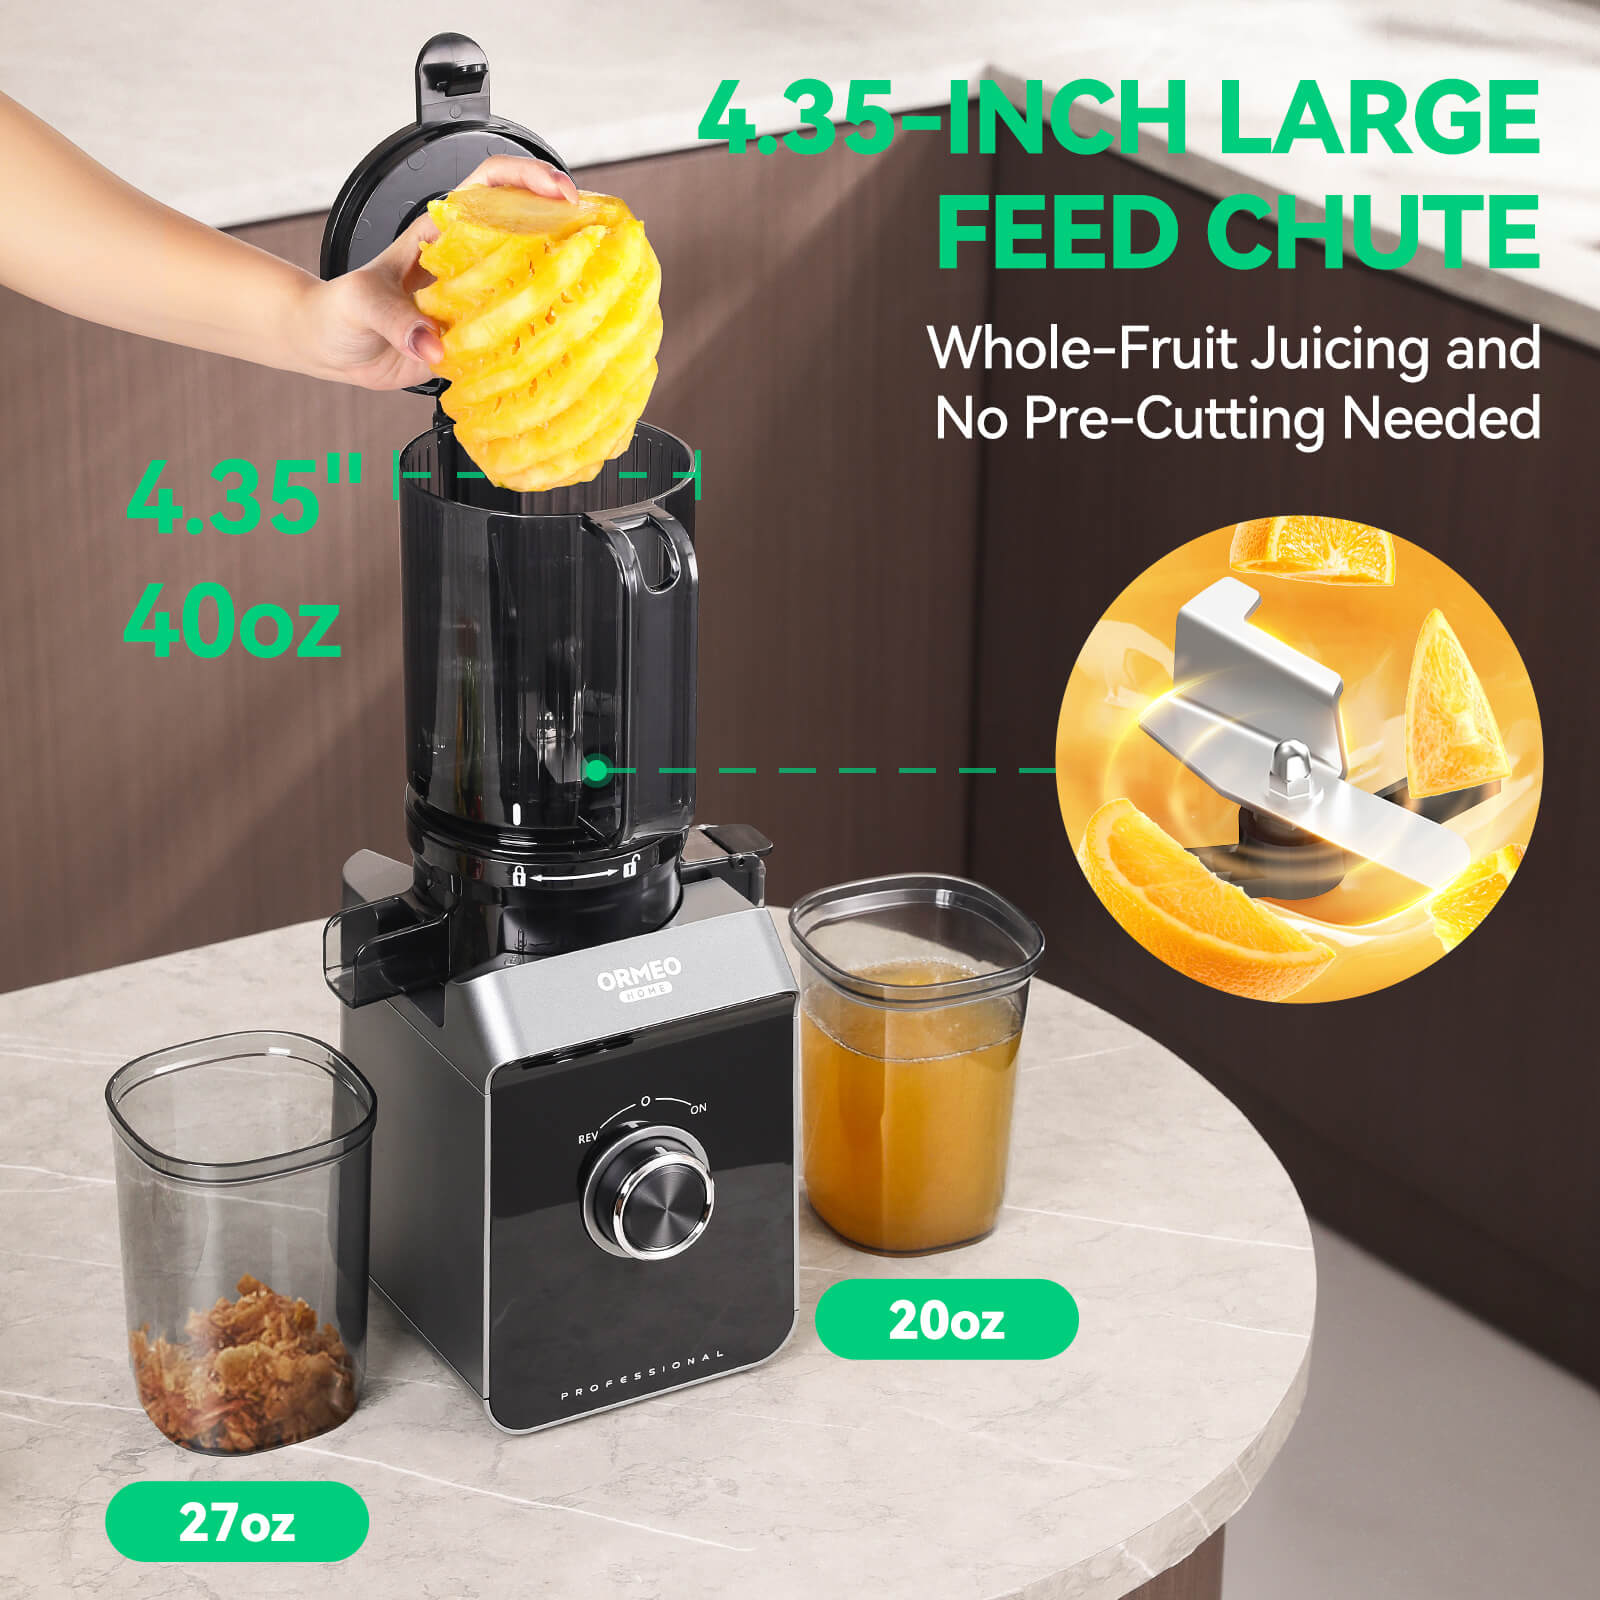
Peel if necessary: Some fruits, like oranges or pineapples, have thick skins that can’t be juiced. I peel them beforehand.
-
Remove seeds and pits: Hard seeds or pits, like those in peaches or cherries, can damage the juicer. I always take them out.
-
Cut into smaller pieces: To make feeding easier, I chop larger fruits and vegetables into smaller chunks. For example, I slice carrots into sticks and quarter apples.
Tip: Softer fruits like berries or peeled citrus work best when alternated with firmer produce. This helps the juicer process everything evenly.
By taking a few minutes to prep, I ensure the juicer operates efficiently and produces smooth, pulp-free juice.
Using speed settings and controls
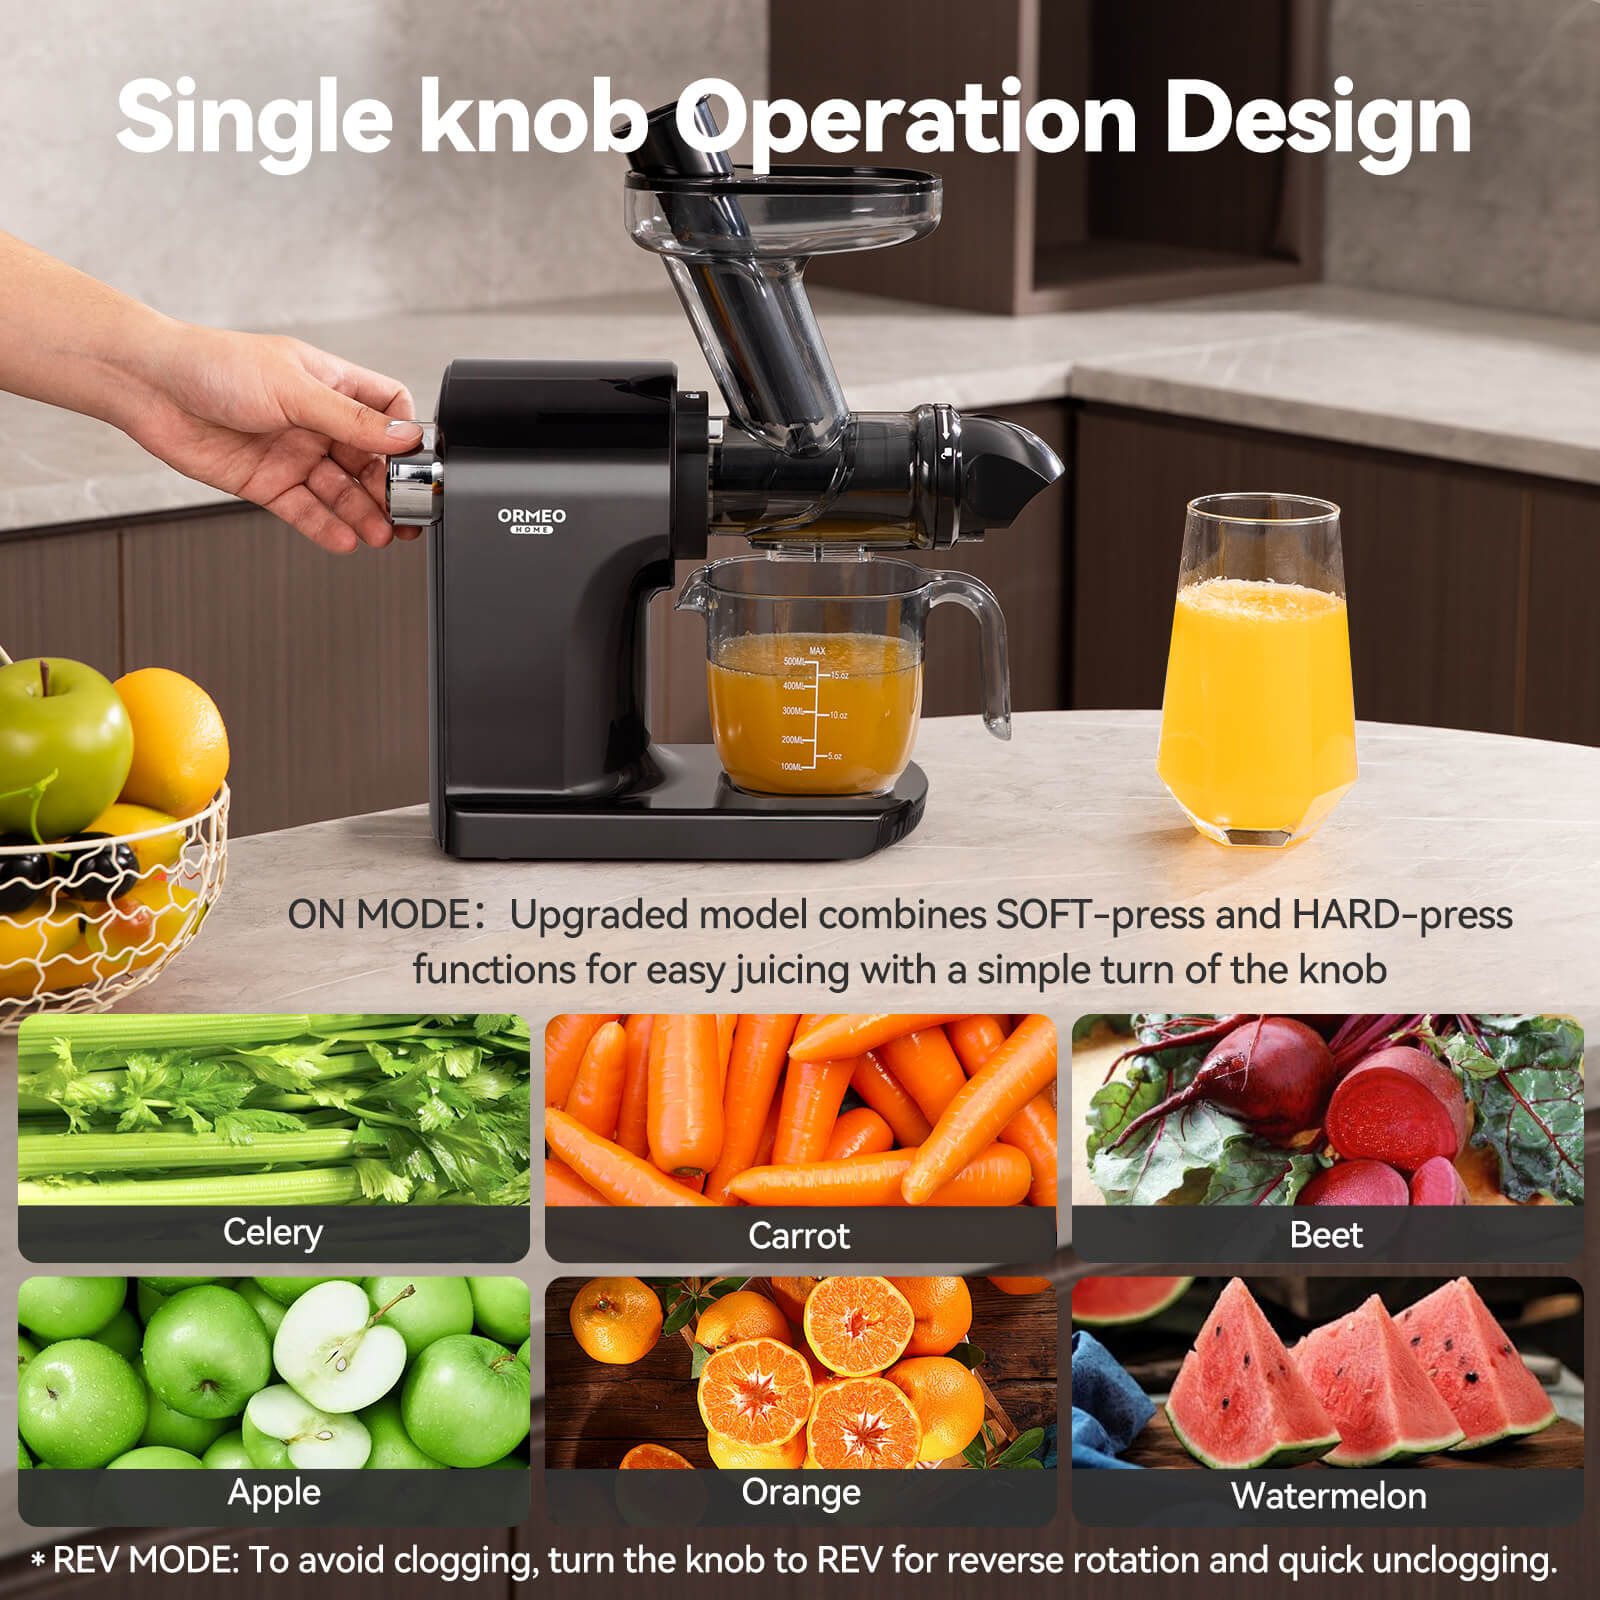
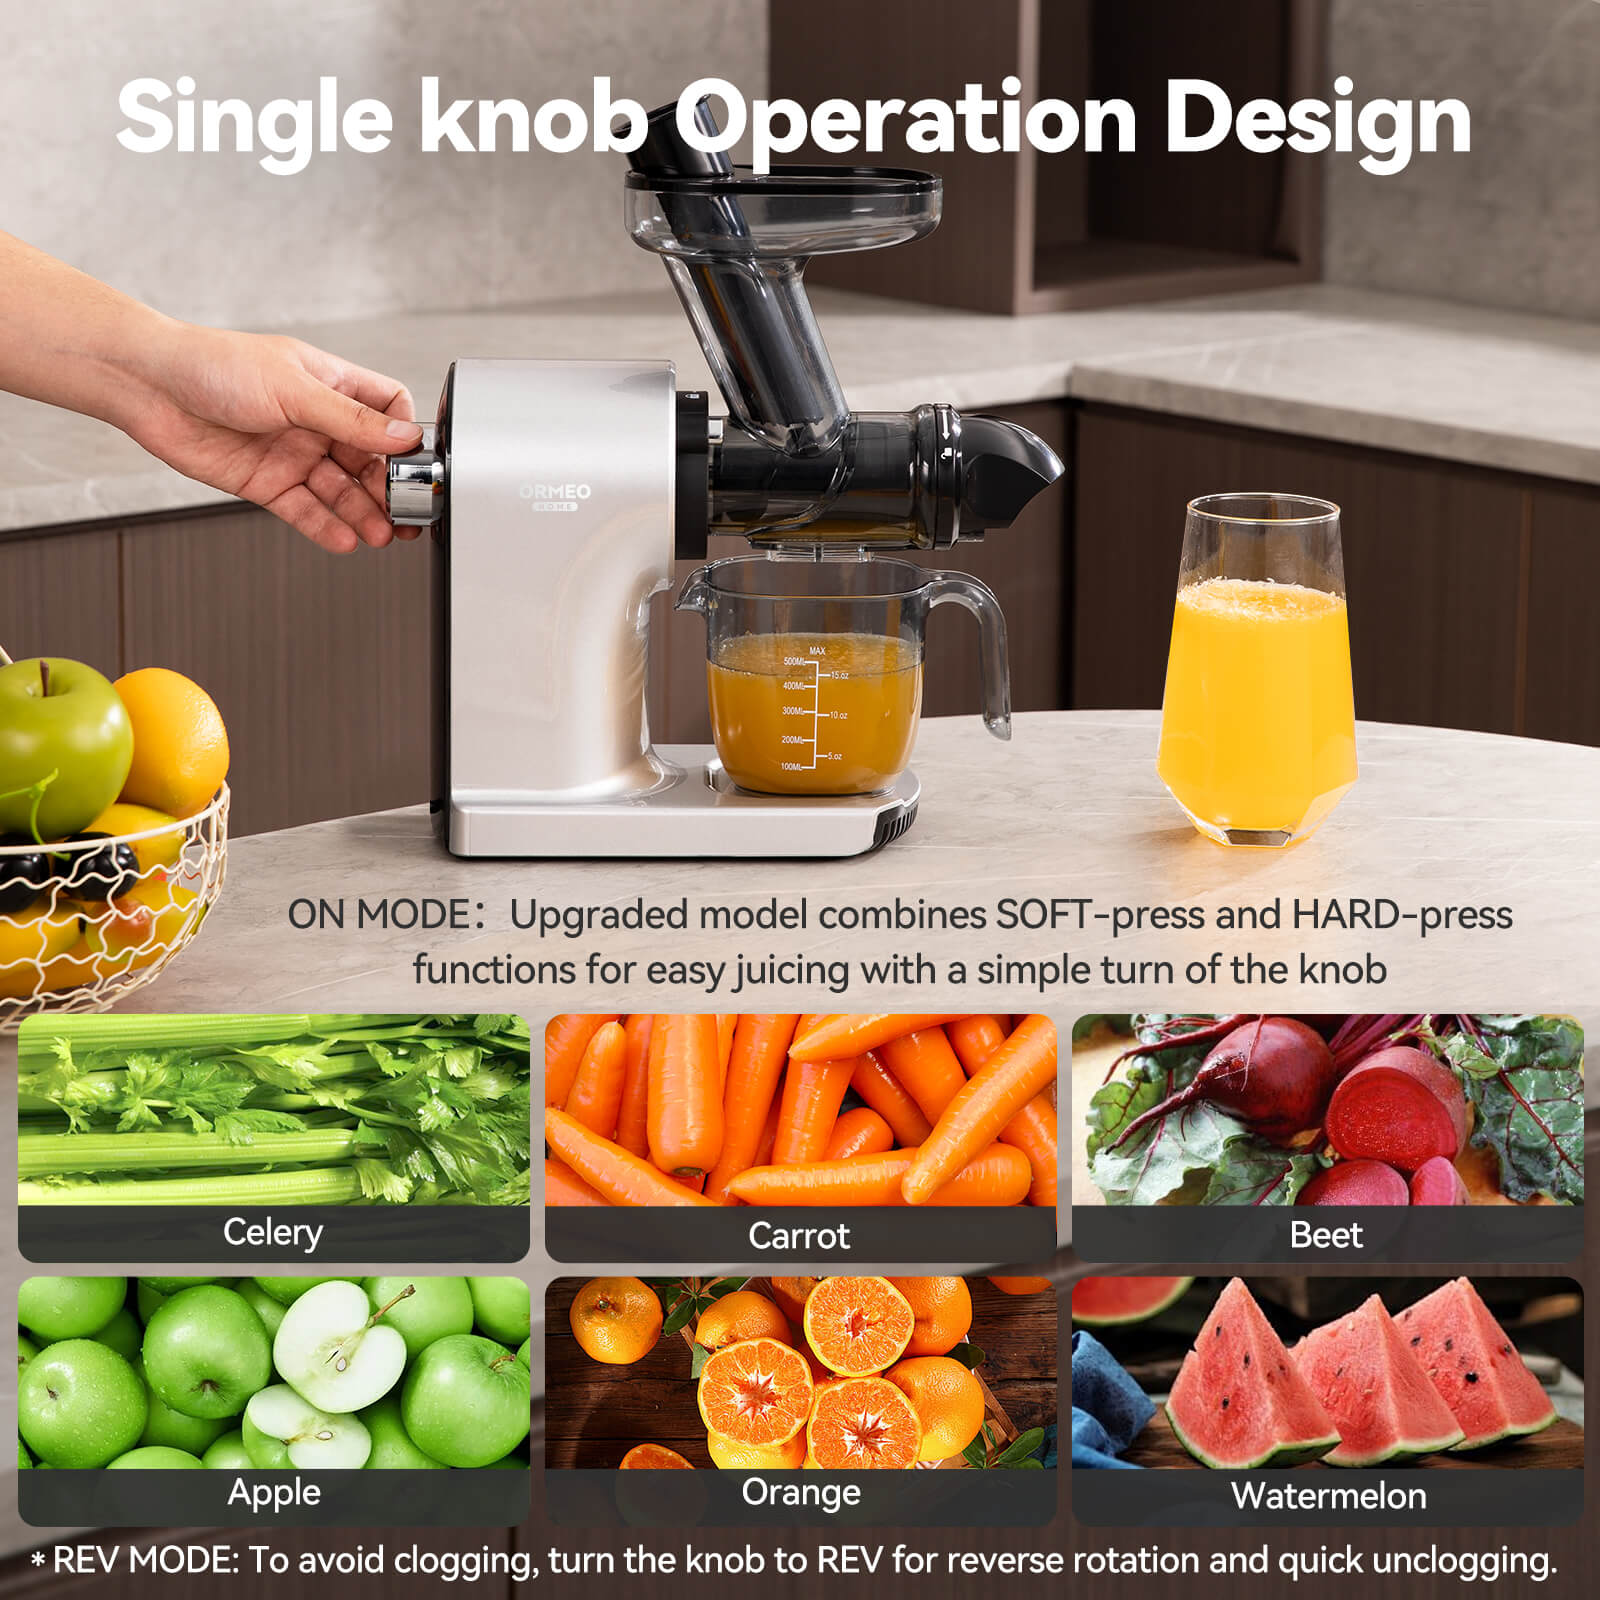
The Ormeohone Juicer 1901 comes with intuitive speed settings that make juicing a breeze. I’ve found that understanding these controls is key to getting the best results.
-
Low speed: This setting works great for soft fruits like strawberries, oranges, or tomatoes. It extracts juice gently, preserving the flavor and nutrients.
-
High speed: I switch to this setting for harder produce like carrots, beets, or apples. The extra power ensures everything gets juiced thoroughly.
Switching between speeds is simple. I just turn the control knob to the desired setting. If I’m unsure which speed to use, I refer to the Operation guide for juicer for guidance.
Note: I avoid running the juicer continuously for more than 10 minutes. This prevents the motor from overheating and keeps the machine in top condition.
Proper placement of food into the feed chute
Feeding the juicer correctly is just as important as prepping the produce. I’ve learned a few tricks to make this step smooth and hassle-free.
-
Feed slowly: I drop one piece of produce at a time into the feed chute. This prevents clogging and ensures the auger can process everything evenly.
-
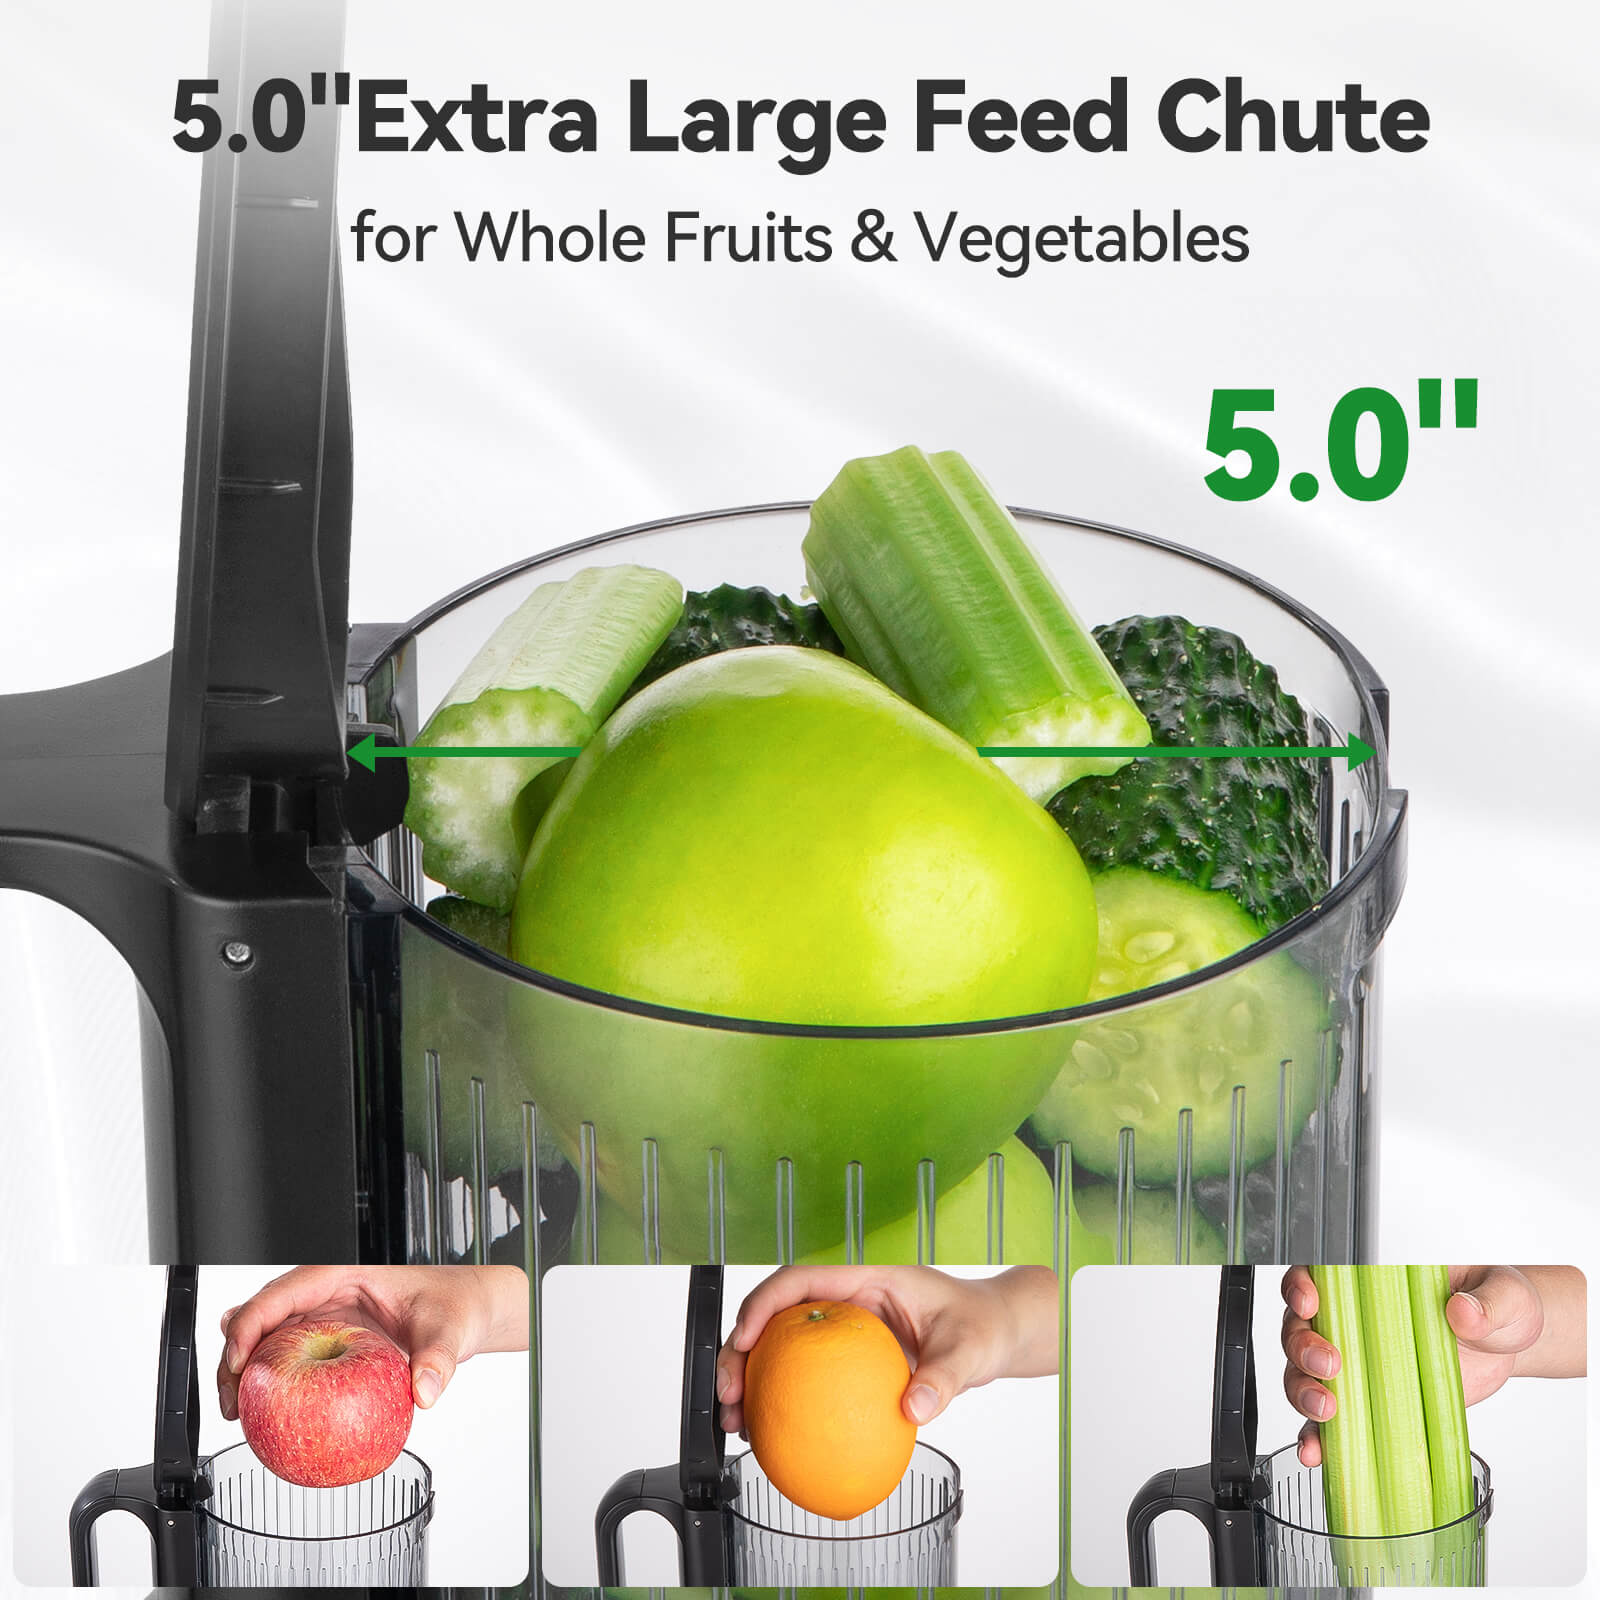
Use the pusher: For firmer items like carrots, I use the pusher to guide them gently into the auger. I never use my hands or any utensils.
-
Alternate textures: To keep the juicer running smoothly, I alternate between soft and hard produce. For example, I follow a handful of spinach with a slice of apple.
Reminder: Overloading the feed chute can cause the juicer to jam. I always take my time and let the machine work at its own pace.
By following these steps, I get consistent, high-quality juice every time. Operating the Ormeohone Juicer 1901 feels effortless when I stick to the 榨汁机操作指南 and take my time with each step.
Tips for achieving consistent juice quality
Getting that perfect glass of juice every time isn’t just luck—it’s all about following a few simple tips. Over time, I’ve discovered some tricks that make a big difference in the taste, texture, and overall quality of the juice. Let me share them with you!
1. Choose fresh and high-quality produce
The quality of your juice starts with the ingredients. I always pick fresh, ripe fruits and vegetables. They’re packed with flavor and nutrients, which means better-tasting juice.
-
Avoid overripe produce: While it might seem tempting to use overripe fruits, they can make the juice too mushy or overly sweet.
-
Go organic when possible: Organic produce often has fewer pesticides and a more natural taste.
Tip: If you’re unsure about freshness, give the produce a sniff. Fresh fruits and veggies usually have a vibrant, natural aroma.
2. Balance flavors
Juicing is like creating a recipe—you want a balance of flavors. I mix sweet, tangy, and neutral ingredients to create a well-rounded juice.
-
Sweet options: Apples, pears, and carrots add natural sweetness.
-
Tangy choices: Citrus fruits like oranges or lemons brighten up the flavor.
-
Neutral ingredients: Cucumbers or celery help tone down overly strong flavors.
Pro Tip: Start with a basic ratio of 2 parts sweet, 1 part tangy, and 1 part neutral. Adjust based on your taste preferences.
3. Use the right speed setting
The Ormeohone Juicer 1901 has different speed settings for a reason. Using the correct one ensures you get the most juice out of your produce.
-
Low speed: Perfect for soft fruits like berries or peeled citrus.
-
High speed: Best for harder items like carrots, beets, or apples.
Switching speeds based on the produce type has helped me achieve smoother, more consistent juice every time.
4. Alternate soft and hard produce
I’ve learned that alternating between soft and hard ingredients keeps the juicer running smoothly. For example, I’ll follow a handful of spinach with a slice of apple. This method prevents clogging and ensures everything gets processed evenly.
Reminder: Don’t overload the feed chute. Feeding one piece at a time gives the juicer enough time to extract juice properly.
5. Keep the juicer clean during use
Juicing multiple batches? I pause occasionally to clean the filter or remove excess pulp. A clean juicer works more efficiently and produces better juice.
Quick Tip: Keep a damp cloth or sponge nearby for quick cleanups. It saves time and effort later.
6. Serve immediately
Freshly made juice tastes best right after it’s made. I always pour it into a glass and enjoy it right away. If I need to store it, I use an airtight container and refrigerate it for no more than 24 hours.
Note: Exposure to air can cause the juice to lose nutrients and flavor. Fill the container to the brim to minimize air contact.
By following these tips, I’ve been able to enjoy consistently delicious juice every time I use the Ormeohone Juicer 1901. It’s all about preparation, balance, and a little bit of care. Give these tips a try, and I’m sure you’ll notice the difference in your next glass of juice! 🥤
Cleaning and Maintenance
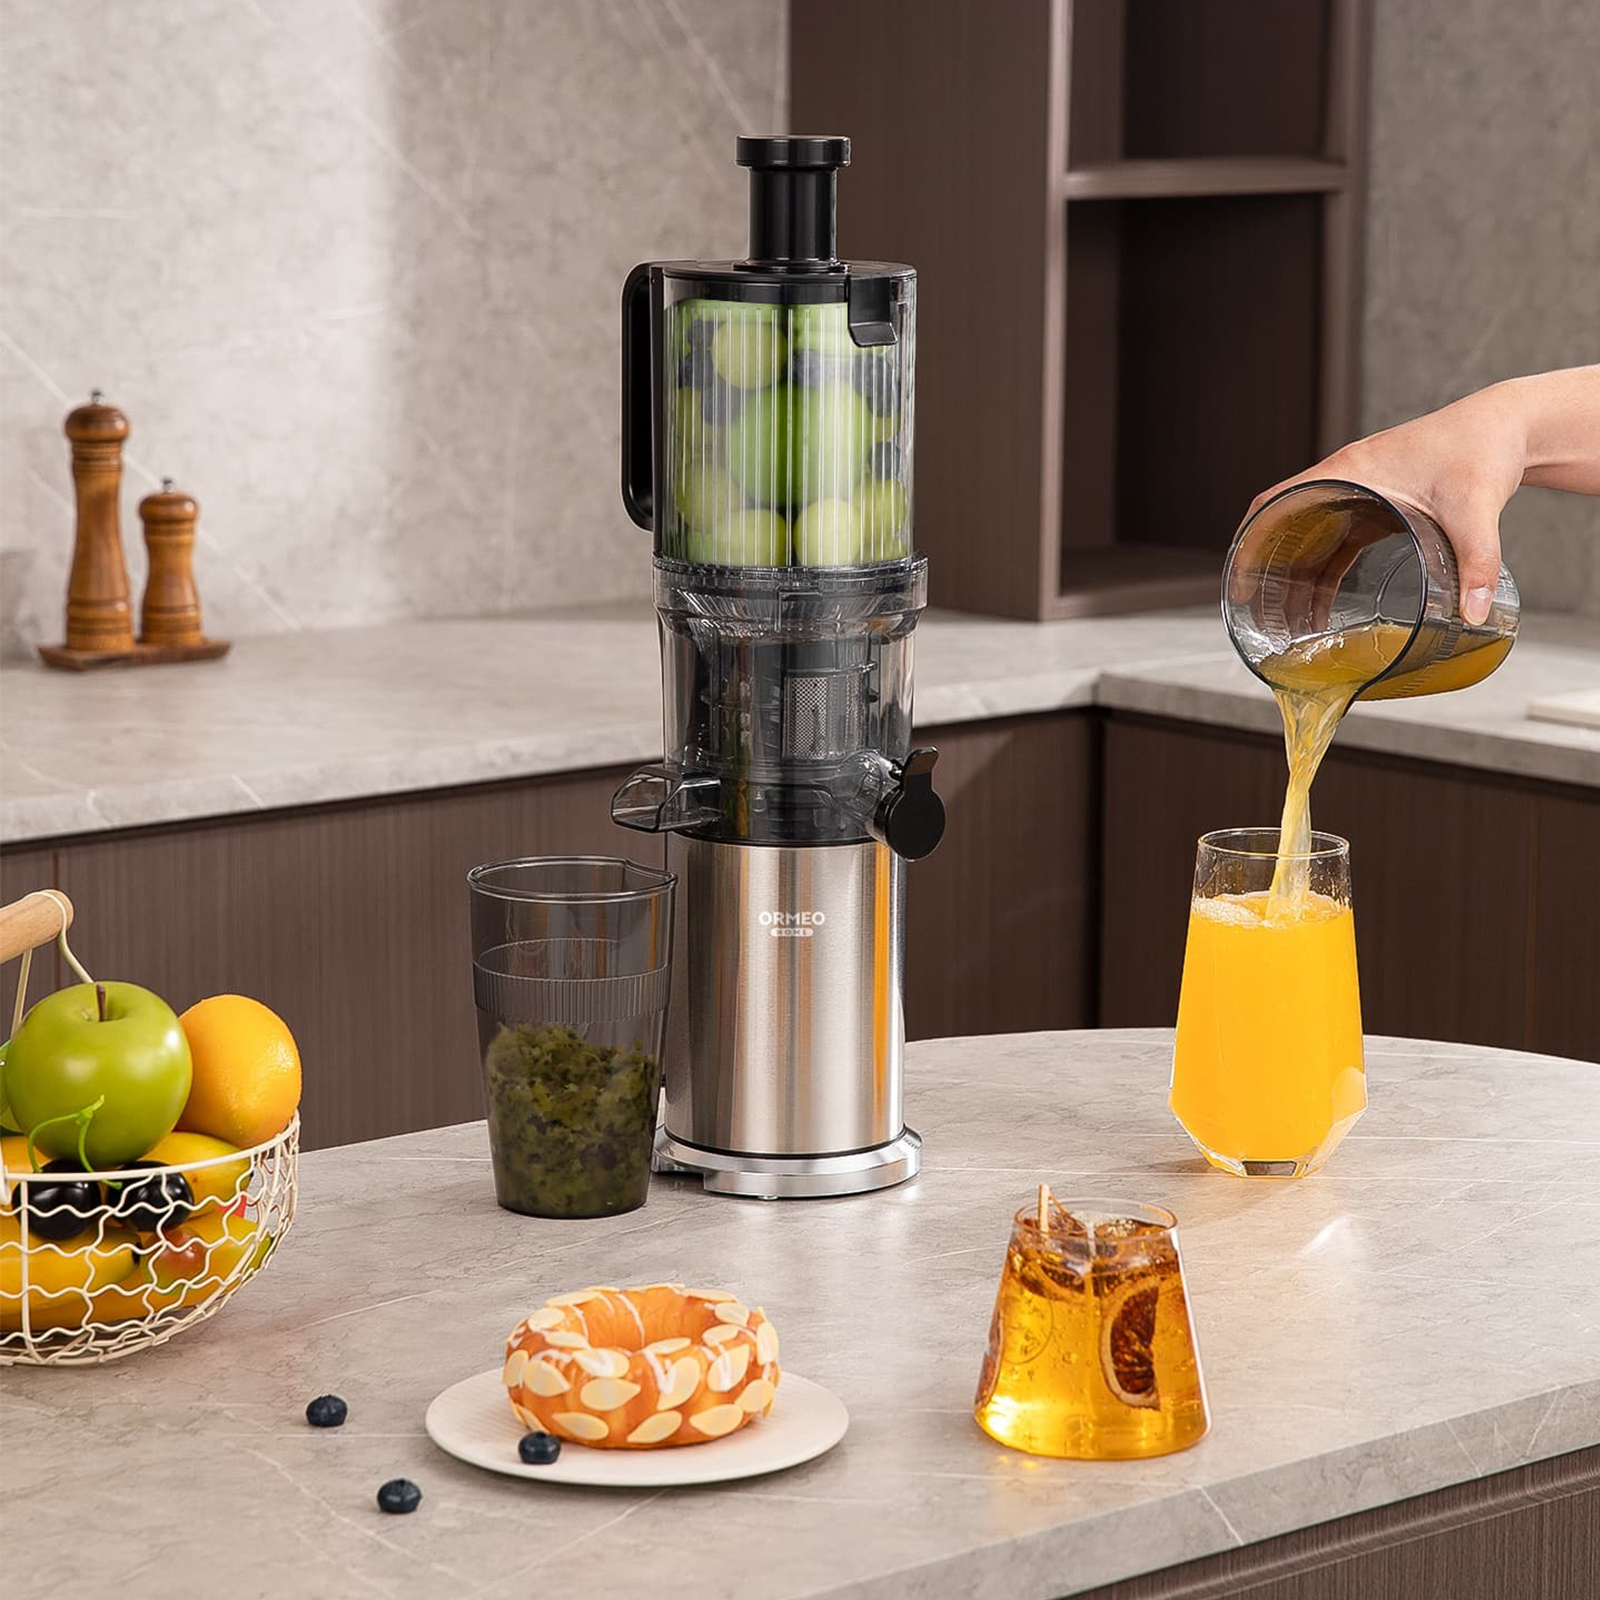
Keeping the Ormeohone Juicer 1901 clean is essential for great-tasting juice and a long-lasting machine. Let me walk you through how I clean and maintain mine after every use.
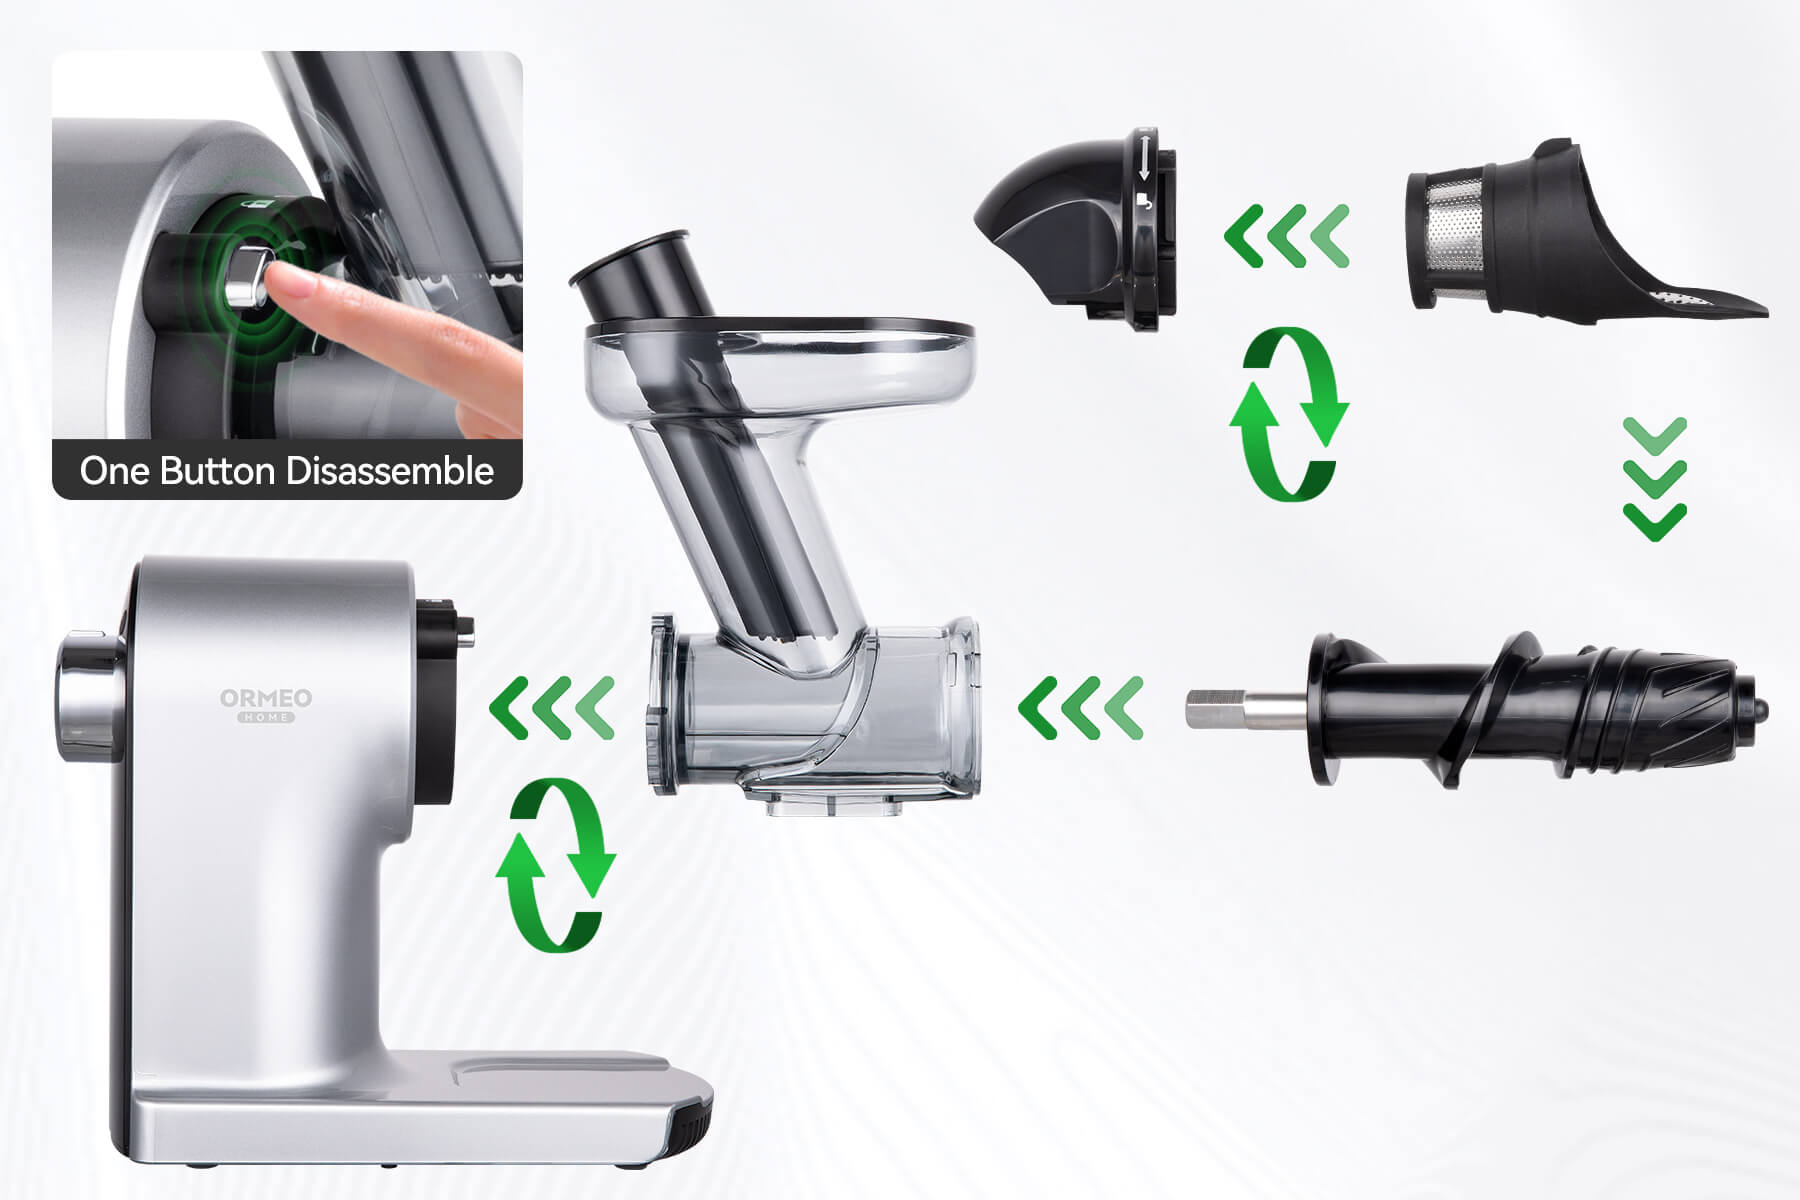
Disassembling the juicer after use
The first thing I do after juicing is unplug the machine. Safety first! Then, I carefully take it apart step by step:
-
I remove the juicer cup and pulp container. These come off easily.
-
Next, I twist the feed chute cover to unlock it from the large cup.
-
I lift out the auger and finally detach the large cup from the main body.
Tip: Keep the parts in order as you remove them. It makes reassembly later much easier!
Cleaning each part thoroughly
Once disassembled, I rinse each part under warm water. For a deeper clean, I use a soft sponge and mild dish soap. Here’s how I handle each piece:
-
Auger and large cup: These tend to have the most residue. I scrub gently to remove pulp and juice stains.
-
Feed chute cover: I check for any stuck bits and rinse them out.
-
Juicer cup and pulp container: A quick rinse usually does the trick, but I’ll use soap if needed.
Note: Avoid soaking the main body or using abrasive cleaners. A damp cloth works best for wiping it down.
Drying and reassembling for storage
After cleaning, I let all the parts air dry completely. Moisture can lead to mold or odors, so I make sure everything is dry before putting it back together. Once dry, I reassemble the juicer in reverse order of disassembly. It’s quick and keeps the parts organized.
Reminder: Store your juicer in a cool, dry place to keep it in top condition.
By following these steps, cleaning the Ormeohone Juicer 1901 feels effortless. A little care goes a long way in keeping it ready for the next juicing session! 🧼🍹
Maintenance tips to extend the juicer’s lifespan
Taking care of the Ormeohone Juicer 1901 is easier than you might think. With a few simple habits, I’ve managed to keep mine running like new for years. Let me share my go-to maintenance tips with you.
1. Clean the juicer immediately after use
I never let pulp or juice residue sit on the parts for too long. As soon as I finish juicing, I disassemble the machine and rinse everything. This prevents buildup and keeps the components looking fresh.
Tip: If you’re short on time, soak the removable parts in warm, soapy water. It makes cleaning later a breeze.
2. Inspect parts regularly
Every few weeks, I check the juicer’s components for wear and tear. I look for cracks, loose fittings, or any signs of damage. Catching issues early helps avoid bigger problems down the line.
Reminder: Pay extra attention to the auger and feed chute cover. These parts do the heavy lifting and need to stay in top shape.
3. Lubricate moving parts
To keep the juicer running smoothly, I apply a food-safe lubricant to the auger and other moving parts. This reduces friction and helps the motor work efficiently.
Pro Tip: Don’t overdo it! A small amount of lubricant goes a long way.
4. Avoid overloading the motor
I’ve learned that running the juicer for too long or overloading the feed chute can strain the motor. I stick to the recommended 10-minute limit and feed produce slowly to keep the machine happy.
Quick Tip: If you’re juicing large batches, give the motor a break between sessions.
5. Store the juicer properly
When I’m done cleaning, I always store the juicer in a cool, dry place. I make sure all parts are completely dry before reassembling. This prevents mold and keeps the machine ready for its next use.
Note: Use the original packaging or a protective cover to shield the juicer from dust.
By following these steps, I’ve been able to extend the lifespan of my Ormeohone Juicer 1901. A little care goes a long way in keeping it running smoothly and delivering delicious juice every time. Give these tips a try, and your juicer will thank you! 🍹
Troubleshooting Tips
Even the best juicers can run into hiccups now and then. Don’t worry—most issues with the Ormeohone Juicer 1901 are easy to fix. Let me walk you through some common problems and how I handle them.
Resolving clogging or motor overheating issues
Clogging happens when the juicer struggles to process certain ingredients. I’ve found that softer fruits or fibrous veggies like celery can sometimes cause this. Here’s what I do:
-
Stop and unplug: First, I turn off the juicer and unplug it for safety.
-
Disassemble and clean: I remove the feed chute cover and auger, then rinse them under warm water to clear any blockages.
-
Alternate produce textures: To prevent future clogs, I alternate soft and hard ingredients while juicing.
Motor overheating is another issue I’ve encountered, especially during long juicing sessions. If the motor feels hot, I:
-
Pause for 20 minutes: I let the juicer cool down before restarting.
-
Stick to the 10-minute rule: I avoid running the juicer continuously for more than 10 minutes.
Tip: If overheating persists, check the Operation guide for juicer for additional guidance.
Steps to take if the juicer doesn’t start
Sometimes, the juicer refuses to start. It’s frustrating, but usually, it’s a simple fix. Here’s my checklist:
-
Check the power connection: I make sure the plug is secure and the outlet is working.
-
Inspect the assembly: Loose or misaligned parts can prevent the juicer from starting. I double-check that everything is locked into place.
-
Reset the machine: If the juicer still won’t start, I press the reset button (if available) or unplug it for a few minutes before trying again.
Reminder: If the juicer still doesn’t work, avoid forcing it. It’s better to troubleshoot calmly.
When to seek professional support
Sometimes, a problem needs expert attention. Here’s when I reach out to customer support:
-
Persistent issues: If clogging or overheating happens repeatedly despite proper use.
-
Damaged parts: Cracks, broken pieces, or worn-out components need professional repair or replacement.
-
Electrical problems: If the juicer doesn’t start and the outlet works fine, it might be an internal issue.
Pro Tip: Keep your warranty information handy. It makes the process smoother when contacting support.
Troubleshooting doesn’t have to be stressful. With these steps, I’ve been able to resolve most issues quickly and get back to enjoying fresh juice. 🍹
Using the Ormeohone Juicer 1901 has been such a rewarding experience for me, and I hope it will be for you too! From assembling the parts to juicing and cleaning, each step is simple when you follow the Operation guide for juicer. Taking a few moments to prepare and maintain the juicer ensures it works perfectly every time. Trust me, once you get the hang of it, you’ll feel confident and safe using it. So, grab your favorite fruits and veggies, and let’s make some delicious juice together! 🍹
FAQ
How do I know if the juicer is assembled correctly?
I always check the lock icons on the large cup and feed chute cover. If they’re aligned and the parts feel secure, the juicer is ready to go. A quick twist ensures everything is locked in place.
Tip: If the juicer doesn’t start, double-check the assembly.
Can I juice frozen fruits or vegetables?
No, I don’t recommend it. Frozen produce can damage the auger or motor. I always thaw frozen items to room temperature before juicing. This keeps the machine safe and ensures smooth operation.
Reminder: Use fresh or properly thawed produce for the best results.
What should I do if the juicer makes unusual noises?
Unusual noises often mean something’s stuck. I turn off the juicer, unplug it, and disassemble the parts. Then, I clean the auger and feed chute to remove any blockages. Once everything’s clear, I reassemble and try again.
Note: Avoid forcing hard or oversized produce into the feed chute.
How do I store leftover juice?
I pour the juice into an airtight container and refrigerate it immediately. Fresh juice tastes best within 24 hours. To minimize nutrient loss, I fill the container to the brim to reduce air exposure.
Pro Tip: Use glass containers for better flavor preservation.
Is the juicer dishwasher-safe?Most removable parts are dishwasher-safe, but I prefer handwashing them. It’s gentler and helps the parts last longer. I use warm water, mild soap, and a soft sponge for cleaning.
Quick Tip: Check the Operation guide for juicer for specific dishwasher instructions.






Share:
Affordable Juicer Buying Guide for 2025
Top 5 Durable Juicer Machines for Health Enthusiasts in 2025